
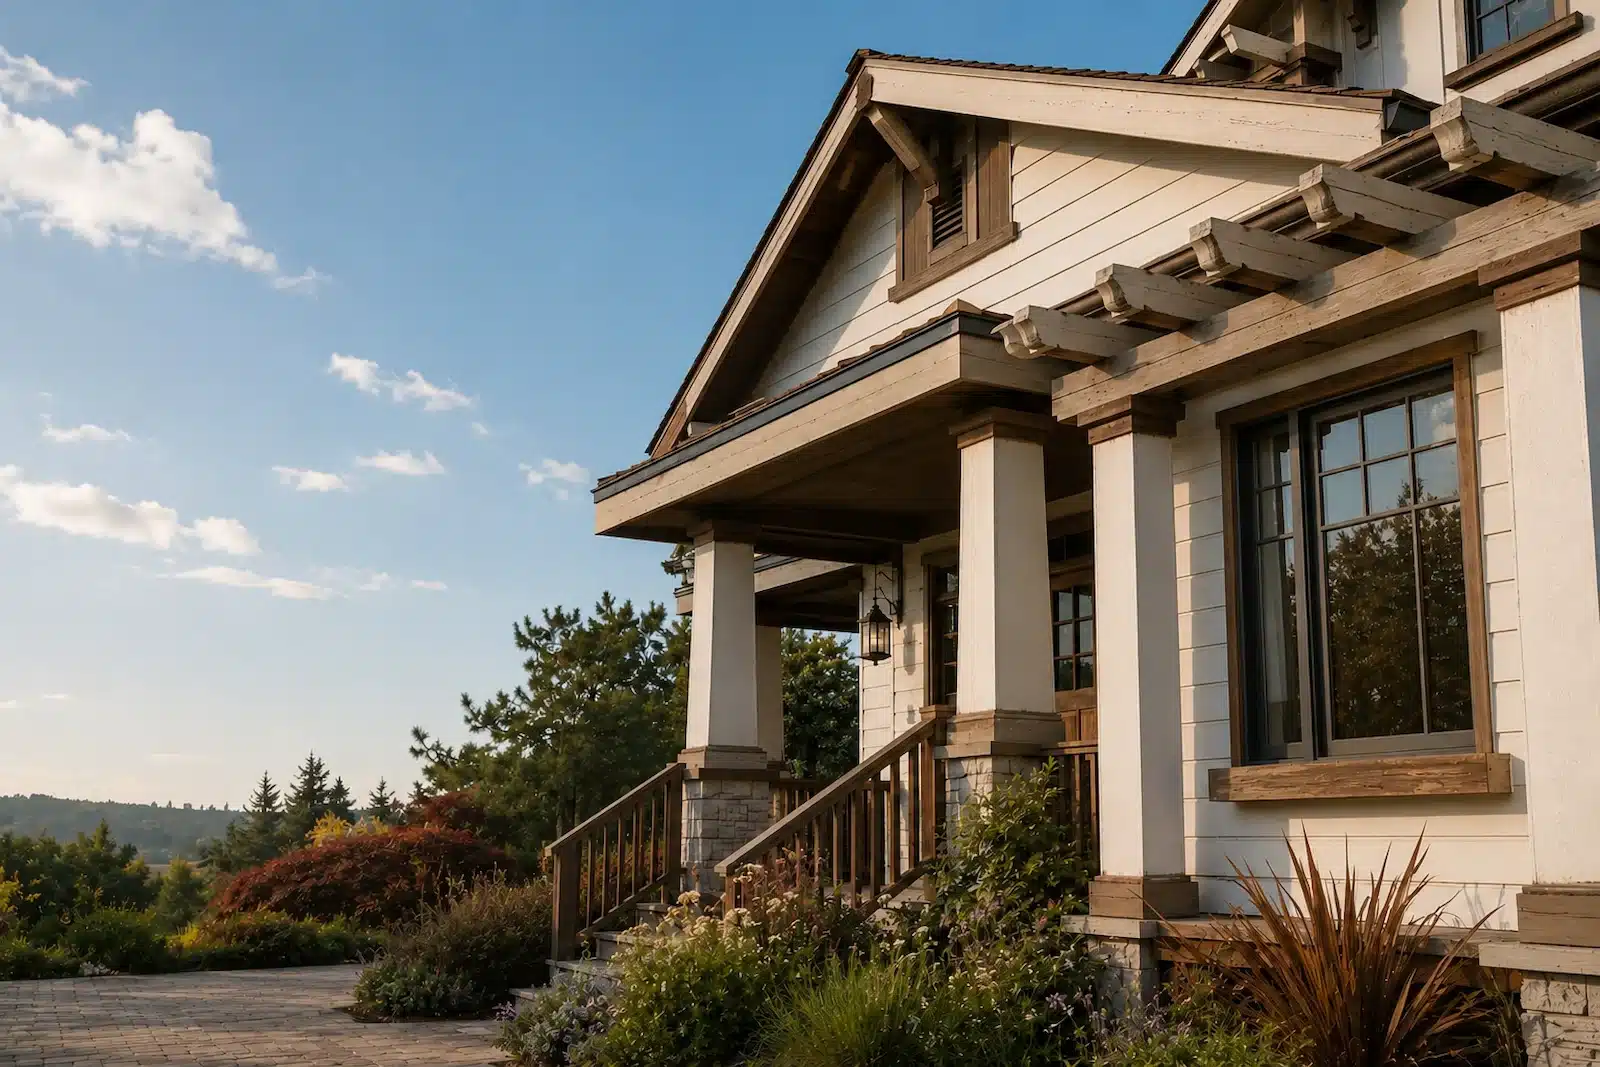
UNDERSTANDING WOOD DAMAGE
Where Wood Rot Commonly Appears
Learn where wood rot commonly appears, which areas of a home are most vulnerable to moisture damage, why deterioration starts there, and where to inspect before minor problems become major repairs.
EXTERIOR INSPECTION
Where Wood Rot Commonly Appears Around a Home
Wood rot develops wherever moisture remains trapped for long periods. Areas that collect rainwater, receive little sunlight, or experience repeated wetting and drying cycles deserve regular inspection. For technical background on moisture, decay, and exterior wood performance, review the USDA Forest Service Wood Handbook.
Roof Edges & Fascia
Overflowing gutters and repeated rain exposure make fascia boards one of the most common places for wood rot to develop.
Windows & Trim
Failed caulking, cracked paint, and trapped moisture often allow deterioration to begin around windows.
Columns, Decks & Stairs
Wood components near the ground frequently experience standing moisture and require routine inspection.
ROOF-LINE PROBLEM AREAS
Where Wood Rot Appears Along Fascia, Soffits, and Roof Edges
Roof-line wood is repeatedly exposed to rain, runoff, overflowing gutters, and failed coatings. These areas often begin deteriorating at joints, fastener holes, and exposed end grain where water can enter and remain trapped.
Fascia Boards
Fascia boards sit directly behind gutters and along roof edges. Overflowing water, leaking gutter joints, damaged roofing, and peeling paint can repeatedly wet the wood and cause decay near corners, seams, and lower edges.
Soffits and Eaves
Soffits can hide leaks from damaged roofing, flashing, or gutters. Look for staining, sagging panels, peeling paint, soft edges, or openings where moisture may be entering the enclosed roof cavity.
Rafter Tails and Beam Ends
Exposed wood ends absorb moisture more quickly than painted faces because water can enter the end grain. Inspect beam ends, rafter tails, and decorative roof supports for deep cracks, checking, softness, and localized staining.
Pay special attention to areas near gutter seams, roof valleys, corners, and exposed wood ends. Learn how to inspect suspicious wood, review what causes wood rot, or browse real WRP repair examples.
TRIM AND OPENINGS
Where Wood Rot Appears Around Windows, Doors, and Trim
Openings and decorative trim contain joints, corners, ledges, and exposed edges where water can collect or enter behind paint and caulk. Lower sections are especially vulnerable because they receive runoff and splashback.
Window Sills
Window sills are nearly horizontal and can hold water when paint, caulk, or drainage details fail. Inspect the lower corners, front edge, end grain, and joints for peeling paint, discoloration, cracking, or softness.
Window and Corner Trim
Failed caulk and open joints around window casings, corner boards, and decorative moldings can allow water behind the visible surface. Lower trim pieces often deteriorate first because moisture drains downward and collects near the base.
Exterior Doors and Garage Trim
Door jambs, thresholds, lower casing, and garage surrounds are exposed to runoff and splashback. Inspect joints near the ground, trim ends, and areas where failed sealant allows moisture to enter.
Inspect painted joints and lower edges closely, even when the surface still appears intact. Learn how to test wood for hidden decay, compare dry rot and wet rot, or browse completed WRP restorations.
EXPOSED WOOD COMPONENTS
Where Wood Rot Appears on Decks, Stairs, Columns, and Structural Wood
Exterior wood that sits close to the ground, holds water on horizontal surfaces, or contains exposed end grain is especially vulnerable to rot. These components should be checked regularly because damage can remain hidden around joints, fasteners, and lower edges.
Decks and Stairs
Deck boards, stair treads, stringers, railings, and fastener holes can hold water and dry slowly. Inspect tread ends, board joints, lower stringers, and areas where hardware penetrates the wood.
Porch Columns and Post Bases
The bottoms of columns and posts often absorb moisture from concrete, soil, irrigation, and splashback. Decorative base trim can trap water and hide damage until the wood becomes soft or begins separating.
Beams, Pergolas, and Structural Joints
Beam ends, pergola members, exposed timber joints, and flat upper surfaces can absorb moisture through cracks and end grain. Large wood members may appear sound outside while deterioration develops around connections.
Check these areas after heavy rain, irrigation problems, or visible coating failure. Learn how to inspect suspicious wood, compare dry rot and wet rot, or review real structural and exterior repairs.
HIDDEN PROBLEM AREAS
Hidden Places Where Wood Rot Commonly Appears
Some of the most damaging wood rot develops where it is difficult to see. Covered joints, enclosed cavities, and wood hidden behind trim can remain damp long after the surrounding surface appears dry.
Behind Decorative Trim
Decorative moldings, column wraps, corner boards, and applied trim can trap moisture behind the visible surface. Damage may not become noticeable until joints open, paint lifts, or the trim begins to separate.
Inside Joints and Connections
Beam pockets, railing connections, mitered trim joints, and fastener penetrations can allow water to enter the wood while remaining hidden from direct view.
Enclosed or Poorly Ventilated Areas
Covered porches, enclosed roof cavities, shaded wall sections, and areas blocked by dense landscaping may dry very slowly. Persistent dampness can allow decay to continue out of sight.
Hidden decay often extends farther than the visible opening. Learn how to inspect wood for hidden rot, review what causes wood rot, or contact WRP if you need help selecting materials for a repair.
SIMPLE INSPECTION CHECKLIST
How to Inspect Areas Where Wood Rot Commonly Appears
Regular inspections can help you find wood rot before the damage becomes more extensive. Focus on changes in appearance, texture, moisture, and strength, especially around joints and lower edges.
Look for Visible Changes
Check for peeling paint, open joints, dark staining, deep cracks, separated fibers, sagging trim, or areas that remain damp after surrounding surfaces have dried.
Gently Probe Suspicious Wood
Use an awl or small screwdriver with light pressure. Sound wood should resist the tool. Soft, spongy, brittle, or crumbling wood may indicate deterioration below the surface.
Trace the Moisture Source
Look above, behind, and around the damaged area for leaking gutters, failed caulk, roof runoff, irrigation, poor drainage, trapped moisture, or contact with wet concrete or soil.
If you find a soft or deteriorated area, inspect the surrounding wood before planning the repair. Review how to tell if wood is rotten, compare dry rot and wet rot, or learn how the WRP repair process works.
NEXT STEPS
What to Do If You Find Wood Rot
Finding wood rot does not always mean the entire component must be replaced. The first priorities are to stop the moisture, determine how far the damage extends, and prepare the remaining wood for a durable repair.
Correct the Moisture Source
Repair leaks, clean gutters, replace failed caulk, improve drainage, and correct any condition that allows the wood to remain wet.
Evaluate the Full Extent of Damage
Inspect beyond the visible opening. Remove loose, soft, brittle, or crumbling material until the remaining wood is firm enough to support restoration.
Strengthen and Rebuild
Consolidate the remaining wood, rebuild missing areas, shape the original profile, and protect the completed repair with the appropriate primer and finish.
See how these steps are used in real wood restoration projects, or return to the WRP Learning Center for more inspection and repair guidance.
COMMON QUESTIONS
Frequently Asked Questions About Where Wood Rot Appears
These answers cover the most common inspection areas. Learn how to identify rotten wood, compare dry rot and wet rot, or review what causes wood rot.
Where does wood rot usually start on a house?
Wood rot commonly starts at roof edges, fascia boards, window sills, lower trim, post bases, beam ends, decks, stairs, and other areas that collect water or dry slowly.
Why do fascia boards rot so often?
Fascia boards sit near gutters and roof runoff. Overflowing gutters, failed roofing, open joints, and peeling paint can repeatedly expose the wood to moisture.
Why does wood rot develop around windows?
Failed caulk, cracked paint, flat sills, and open trim joints allow water to enter around windows. Lower corners and sills are especially vulnerable because moisture drains downward.
Can wood rot be hidden behind paint or trim?
Yes. Paint and decorative trim can hide moisture damage. Bubbling paint, separating joints, dark staining, and softness may indicate decay below the visible surface.
Are porch columns and post bases common rot locations?
Yes. Column and post bases often absorb moisture from concrete, soil, irrigation, and splashback. Decorative base trim can also trap water and hide early deterioration.
How often should I inspect exterior wood?
Inspect high-risk areas periodically and after leaks, heavy rain, gutter problems, irrigation issues, or visible coating failure. Early detection usually makes repairs easier.
Can damaged wood in these areas be repaired?
Many localized areas can be repaired when enough sound wood remains and the moisture source can be corrected. Review real WRP repair examples and the complete repair process.
CONTINUE LEARNING
Continue Learning About Wood Rot and Wood Repair
Knowing where wood rot commonly appears is only the first step. Continue learning how wood rot develops, how to identify it, and how WRP permanently restores damaged wood without replacing the entire component.
What Causes Wood Rot?
Learn why moisture is the driving force behind wood decay and discover the conditions that allow fungi to damage exterior wood.
How to Tell if Wood Is Rotten
Learn the visual warning signs and simple inspection methods that help determine whether wood has begun to deteriorate.
Dry Rot vs. Wet Rot
Understand the differences between dry rot and wet rot, where each develops, and how both types of deterioration are repaired.