
HOW THE WRP WOOD REPAIR SYSTEM WORKS
How to Repair Rotten Wood in Three Simple Steps
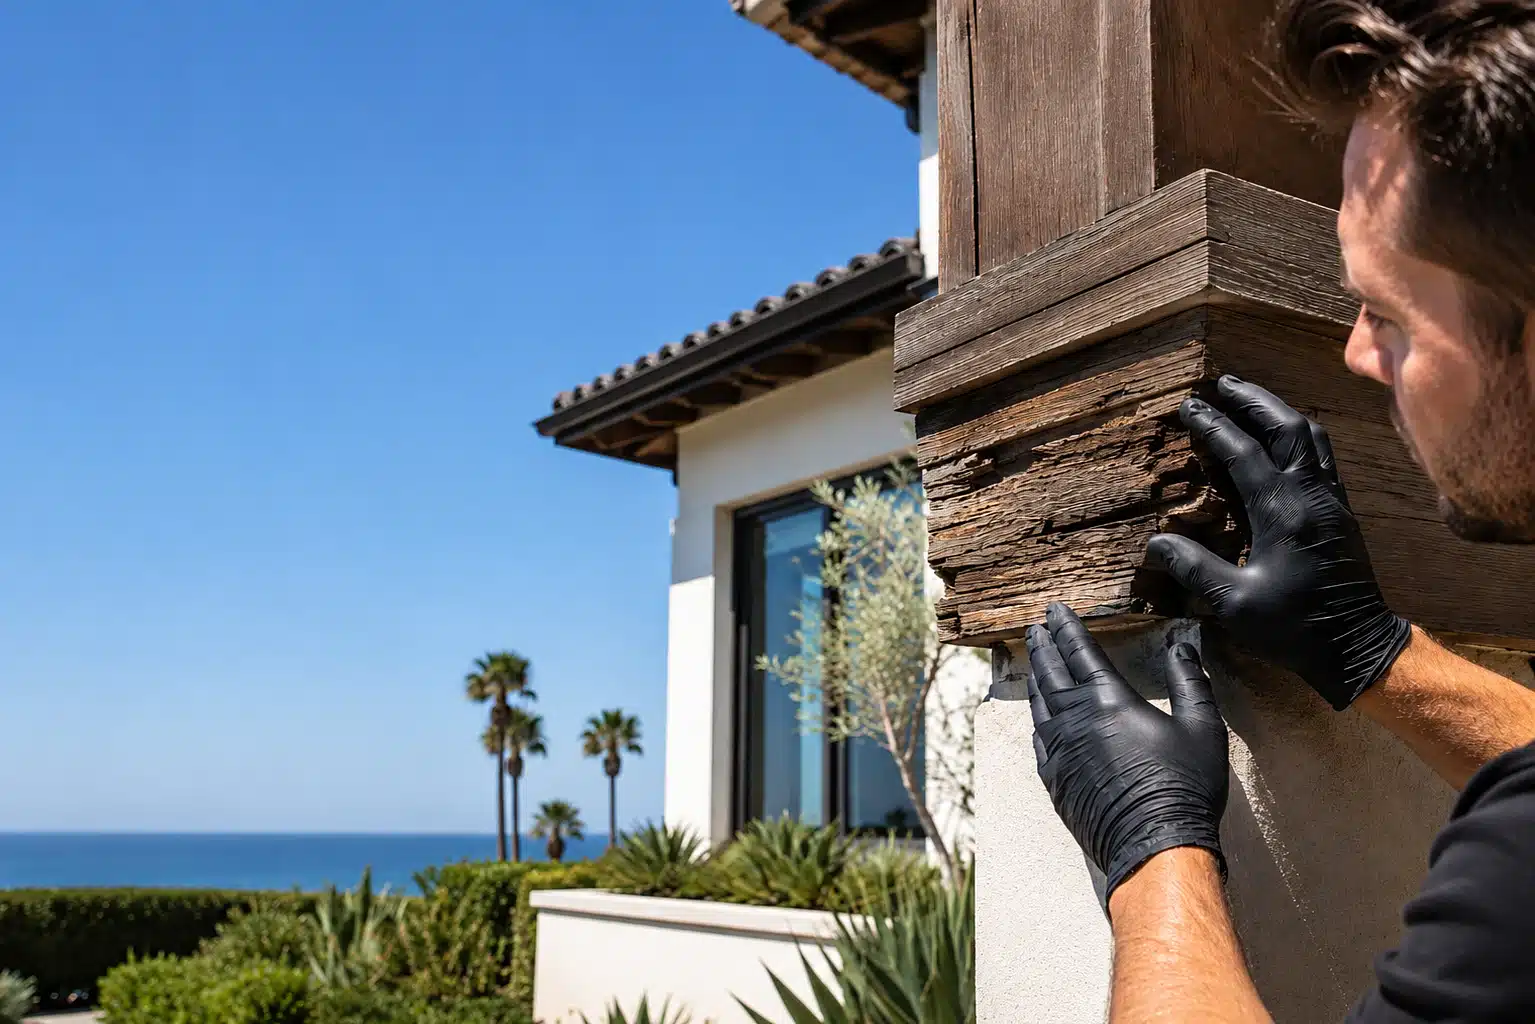
Learn how to repair rotten wood using the proven WRP Wood Repair System. Our simple three-step process helps homeowners, contractors, painters, and restoration professionals permanently repair rotted, weathered, and insect-damaged wood without replacing it.
How to Repair Rotten Wood: Prepare the Wood
Clean, protect, treat, and reinforce damaged wood to create a strong foundation before rebuilding the repair with the WRP Wood Repair System.
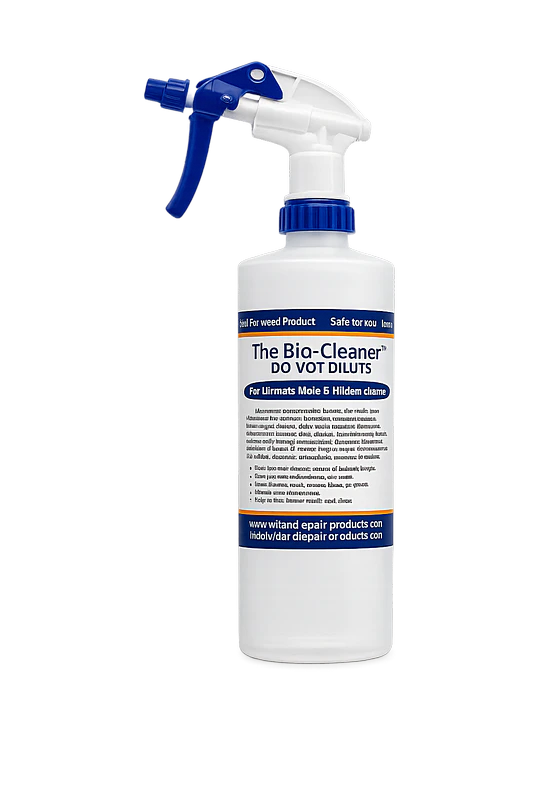
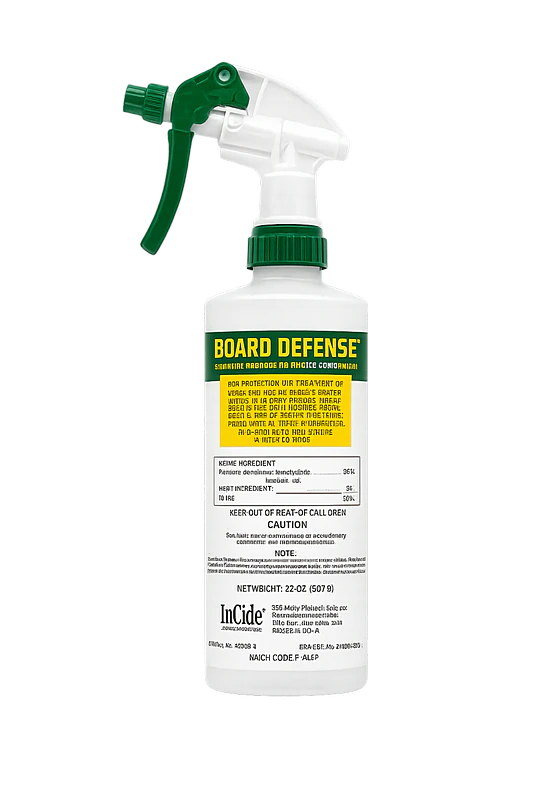
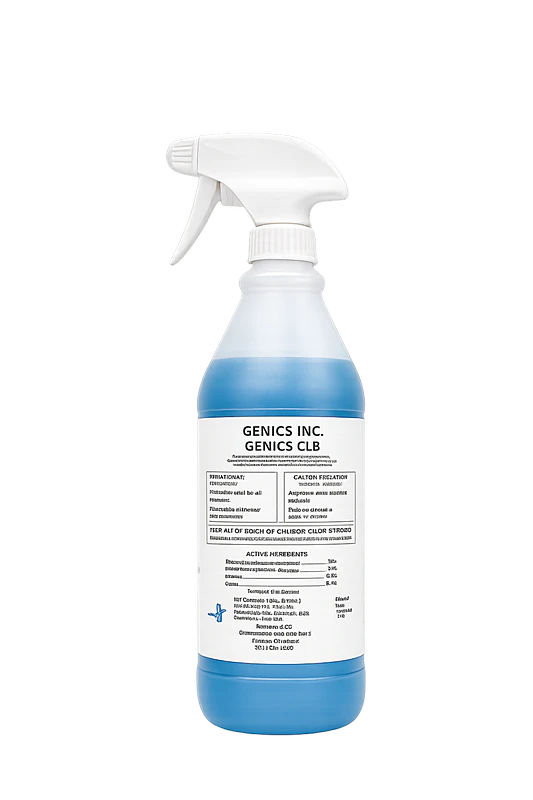
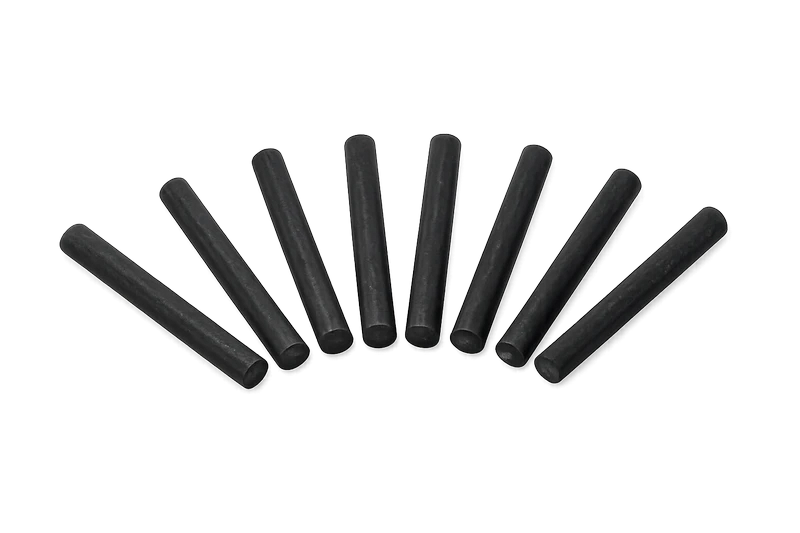
Prepare the surface, protect the remaining wood, treat vulnerable areas, and add long-term internal protection where needed.
Build the repair on a clean, protected foundation.
Remove dirt, biological growth, and contaminants that can interfere with a dependable repair.
Help defend the remaining material from organisms and conditions that contribute to future deterioration.
Apply the appropriate treatment before rebuilding so hidden and exposed areas are addressed first.
Add Cobra Rods inside the wood where ongoing protection against future deterioration is appropriate.
Every successful repair starts with proper preparation.
Step 1 creates the foundation for a permanent repair by cleaning the surface, protecting the wood, treating damaged areas, and adding long-term internal protection before epoxy rebuilding begins.
Permanently Restore
Strengthen deteriorated wood with WRP Consolidant, rebuild missing wood with WRP Epoxy Dough, and shape the repair before applying the final finish.
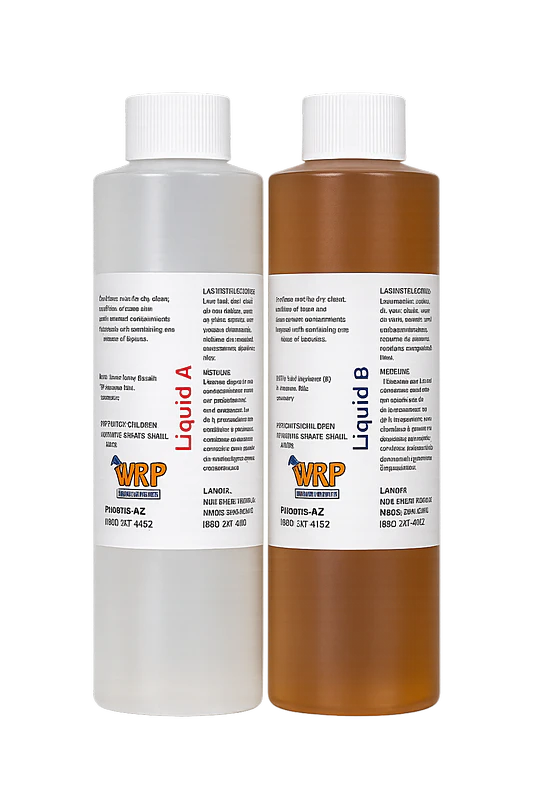
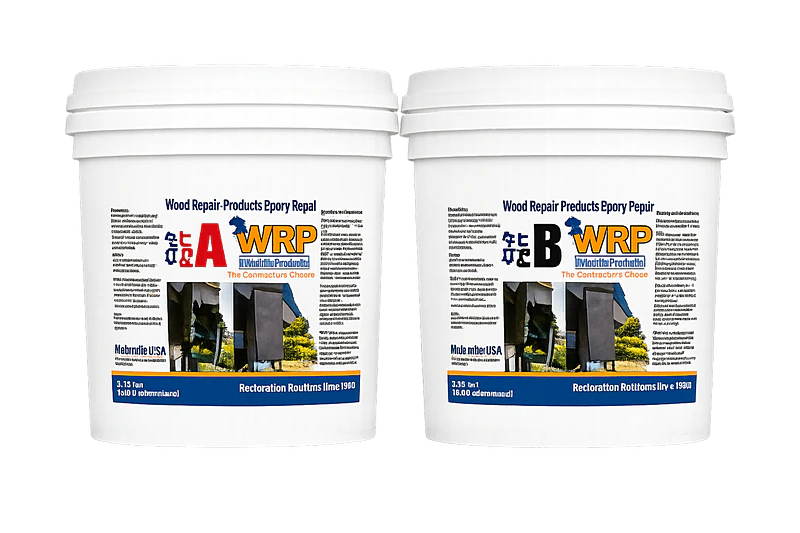
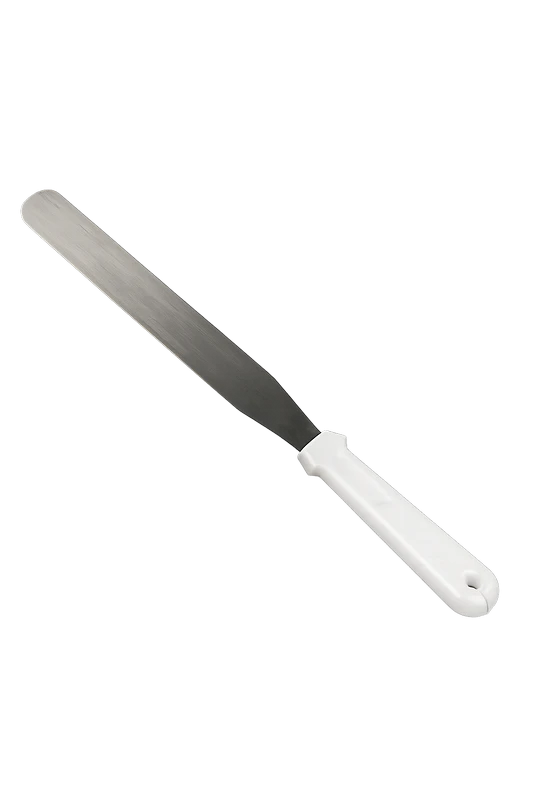
Strengthen weakened fibers, rebuild missing sections, and shape the repair to match the original profile.
Restore damaged wood instead of replacing the entire component.
WRP Consolidant penetrates weakened wood and creates a stable base for the rebuilding material.
WRP Epoxy Dough replaces lost material and can be formed into structural and architectural shapes.
Form the repair before full cure to reduce sanding and recreate the original wood profile efficiently.
After curing, the repair can be sanded, drilled, routed, carved, primed, and painted.
Rebuild damaged wood without replacing it.
Step 2 permanently restores damaged wood by strengthening weakened fibers with WRP Wood Consolidant, rebuilding missing sections with WRP Epoxy Wood Repair Dough, and shaping the repair to match the original wood profile before applying a professional finish.
Coat & Finish
Apply WRP Topping, recreate the original wood texture, and prepare the repair for primer and paint to achieve a seamless, professional finish.
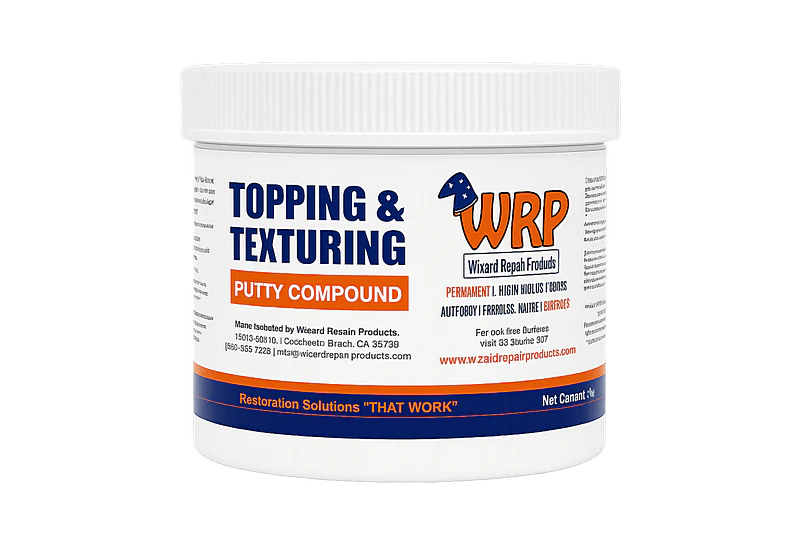
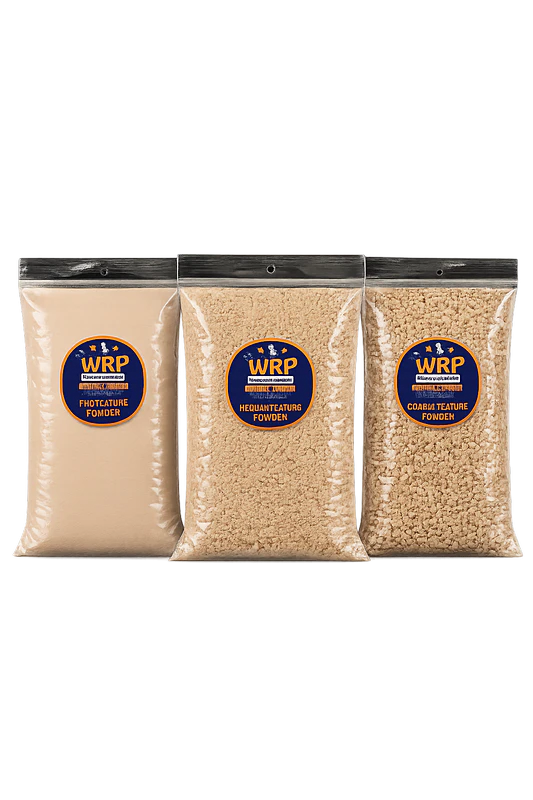

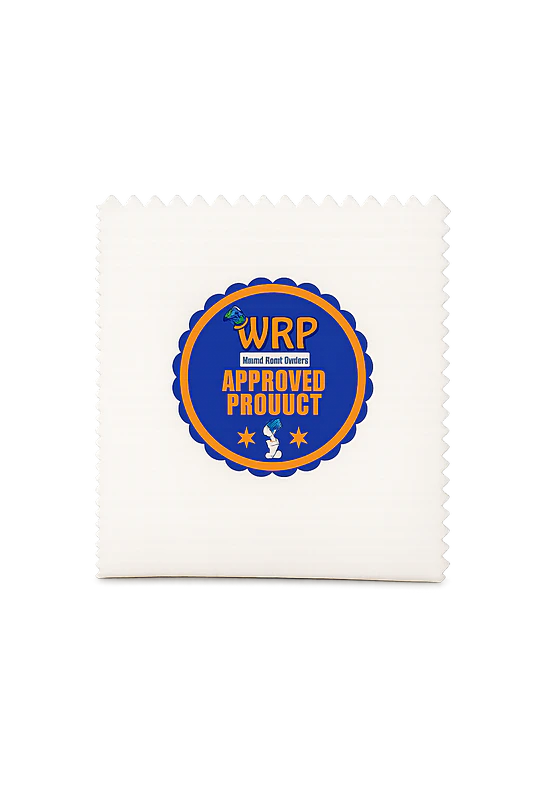
Coat, texture, spread, and grain the cured repair before primer and paint.
Create a paint-ready surface that blends with the surrounding wood.
Use WRP Topping to smooth minor imperfections and prepare the cured repair for final detailing.
Choose Fine, Medium, or Coarse Texture Powder to recreate the surrounding surface character.
The WRP spreader helps distribute topping consistently across flat and shaped repair areas.
Add subtle grain detail before priming and painting so the finished repair blends naturally.
Finish the repair so it blends with the original wood.
Step 3 uses WRP Topping, Texture Powders, the yellow spreader, and the wood graining tool to recreate the original surface texture before priming and painting for a seamless, long-lasting finish.
FREQUENTLY ASKED QUESTIONS
How to Repair Rotten Wood: Frequently Asked Questions
Learn more about using the WRP Wood Repair System to permanently repair damaged wood.
How long does a WRP repair take?
When learning how to repair rotten wood, proper curing is just as important as proper preparation. On warm days, WRP products can cure within a few hours. For best results, shape the repair while the epoxy is still workable, then allow it to cure overnight before completing the final sanding, texturing, priming, and painting.What if I'm not sure which WRP products I need?
No problem. Contact the WRP team and tell us about your project. You can also send photos of the damaged wood, and we'll help recommend the right repair kit, products, and accessories for your repair. Contact us for a recommendation.Can I repair structural wood with WRP?
Yes. The WRP Wood Repair System can be used for structural wood repairs when the remaining wood is sound and the repair is performed correctly. WRP has been successfully used on structural beams, columns, fascia boards, and many other wood restoration projects.How much rotten wood should I remove before starting?
Remove all loose, soft, and deteriorated wood until you reach clean, solid wood. Starting with a sound foundation allows the repair materials to bond properly and helps create a strong, long-lasting repair. For additional technical information about wood properties and deterioration, consult the USDA Wood Handbook.When can I sand, texture, prime, and paint the repair?
For best results, shape or shave the repair before the epoxy fully hardens to reduce the amount of sanding required later. Once the repair has cured, you can sand it smooth, apply WRP Topping and Texture Powders if desired, then prime and paint the repaired area.Can the repaired area be drilled, routed, or carved?
Yes. Once fully cured, WRP repairs can be drilled, routed, carved, sanded, shaped, stained, and painted, making it easy to match the repaired area to the surrounding wood.What tools do I need to complete a repair?
Most repairs require only a few basic tools, including disposable gloves, mixing cups, disposable brushes, and a carving or shaping knife. Depending on the project, sandpaper, a putty knife, and WRP finishing tools may also be used to achieve the desired finish.Which WRP products are used in each step?
The WRP Wood Repair System follows a simple three-step process. Step 1 uses Bio-Cleaner, Board Defense, CuB Genics, and Cobra Rods. Step 2 uses WRP Consolidant, Epoxy Dough, and a Putty Knife. Step 3 uses WRP Topping, Texture Powders, the Yellow Spreader, and the Wood Graining Tool to complete the repair.READY TO START YOUR REPAIR?
Choose the Right WRP Repair Kit
Everything you need to permanently repair rotten, weathered, and damaged wood is available in complete WRP repair kits. Choose the kit that fits your project and get started today.