
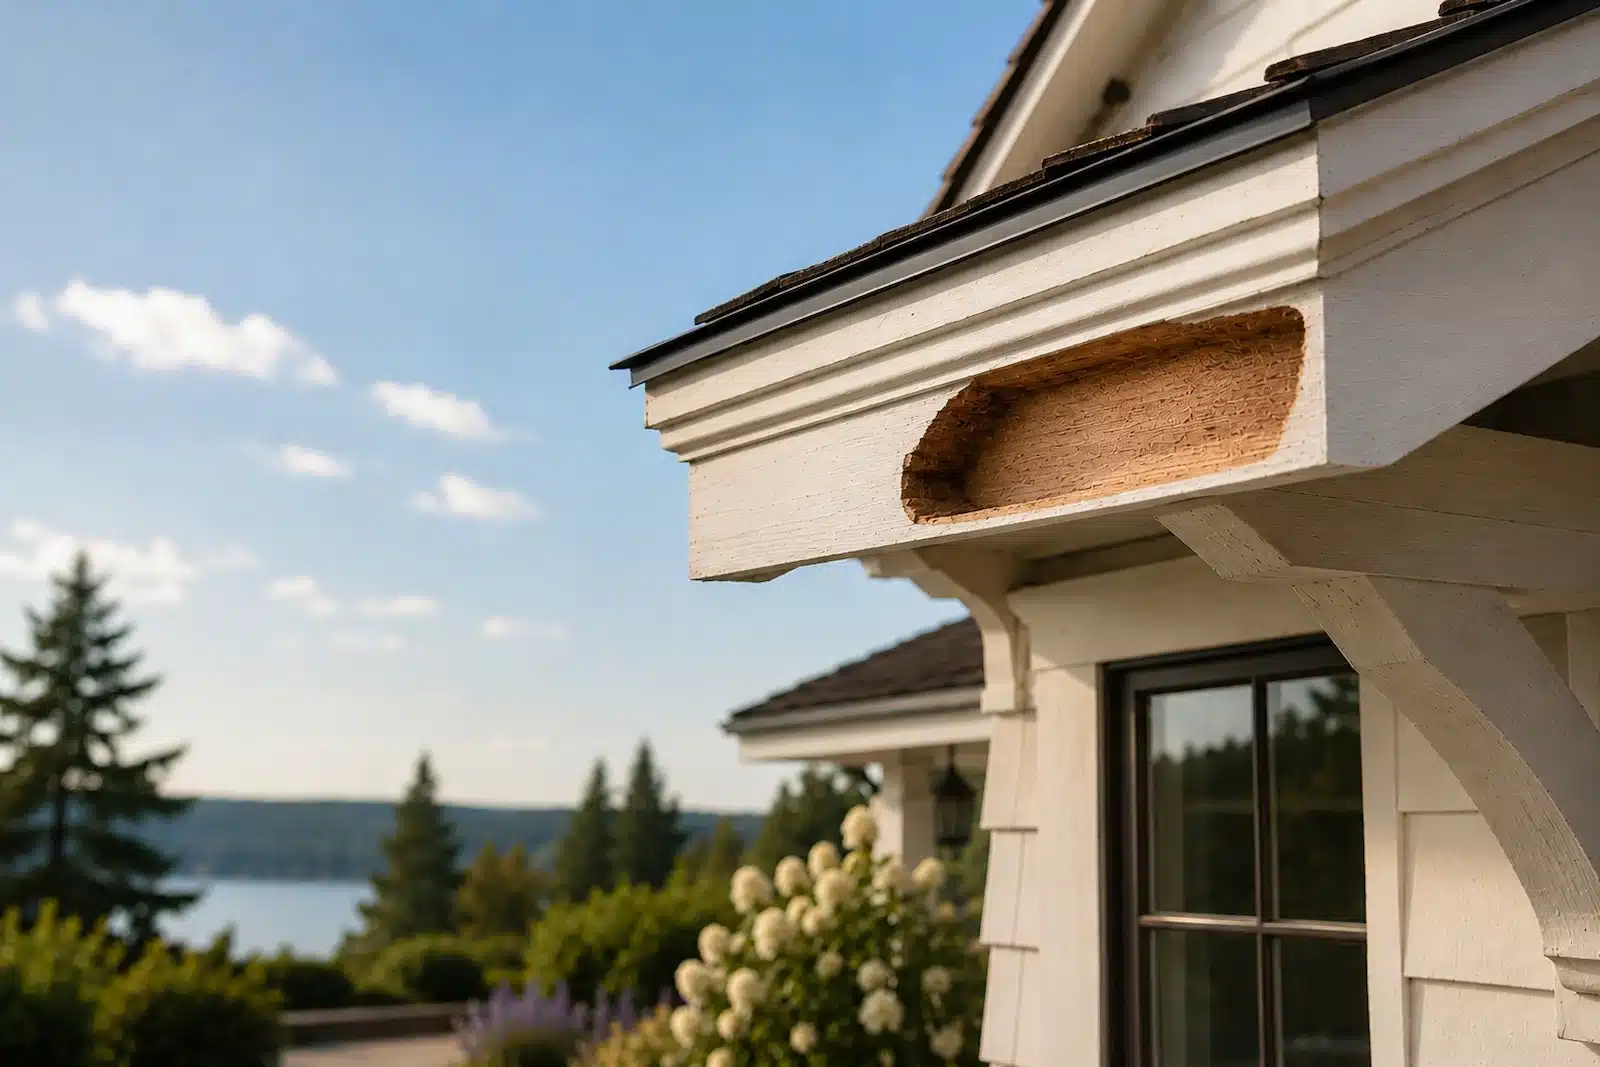
PLANNING A WOOD REPAIR
How to Prepare Wood for Repair
Before applying repair materials, correct the moisture source and establish whether localized repair is appropriate. Inspect accessible damage only where access is safe; appearance or apparent firmness does not establish concealed condition or load-bearing suitability. Uncertain framing, supports, or connections need qualified evaluation before wood is removed. Prepare the evaluated repair area according to current WRP product instructions.
PREPARATION BEFORE REBUILDING
What to Check Before Preparing Wood for Repair
Learning how to prepare wood for repair begins before any consolidant or epoxy is applied. The damaged area must be dry, clean, stable, and free of loose deterioration so the repair system can bond to sound material.
Stop the Moisture First
Repair leaks, failed caulk, gutter problems, poor drainage, and other conditions that allow the wood to remain wet.
Remove Unsound Material
Remove deteriorated material as appropriate to the evaluated repair and current preparation instructions. Apparent firmness alone does not establish repair suitability.
Create a Clean Repair Surface
Dust, loose fibers, debris, failed coatings, and contamination must be cleared from the area before treatment begins.
Review how much rotten wood should be removed and learn what causes wood rot before preparing the remaining material.
STEP 1
Correct Moisture Before You Prepare Wood for Repair
Wood rot develops because moisture remained present long enough for decay to begin. A repair should not be sealed over an active leak or another condition that will continue wetting the wood. For technical background on moisture and wood decay, review the USDA Forest Service chapter on wood biodeterioration.
Repair Roof and Gutter Leaks
Correct damaged roofing, flashing, gutter seams, overflow, and downspout problems before restoring roof-line wood.
Replace Failed Sealants
Open joints and failed caulk around windows, doors, trim, and penetrations should be corrected before the repair is finished.
Improve Drainage
Redirect standing water, irrigation, splashback, and runoff away from posts, columns, stairs, trim, and other wood components.
Eliminate Wet Ground Contact
Keep wood away from soil, mulch, wet masonry, and surfaces that transfer moisture into the component.
Improve Airflow
Enclosed and shaded areas may need better ventilation so the prepared wood can dry and remain dry.
Allow the Area to Dry
Do not trap active moisture beneath the repair. The prepared area should be dry enough for the selected treatment and repair system.
Learn more about what causes wood rot and where moisture damage commonly begins.
STEP 2
Confirm Repair Suitability Before Removing Wood
Inspect accessible deterioration and surrounding connections only where access is safe. An accessible inspection does not establish the complete extent of concealed damage or structural condition. Resolve support, framing, connection, or hidden-condition concerns before removing material. Review Repair or Replace Rotten Wood? before choosing the repair approach.
STEP 3
Clean the Cavity When Preparing Wood for Repair
Once the unsound wood has been removed, preparing wood for repair means the cavity should be free of dust, debris, loose fibers, contamination, and failed coatings that could interfere with treatment or bonding.
Review current product labels and safety documents before disturbing coatings or using repair materials. Use the protective equipment and dust controls appropriate to the products, tools, and existing coatings. Obtain appropriate safety guidance before sanding or removing coatings of unknown composition.
Remove Dust and Debris
Clear wood fragments, dirt, and loose particles from the full depth of the cavity and surrounding edges.
Remove Loose Fibers
Remove loose fibers using preparation methods specified by current instructions and appropriate dust controls.
Strip Failed Coatings at the Edge
Remove loose paint, caulk, and failed coating material near the cavity so the repair transitions to stable surfaces.
Check for Oil or Contamination
Grease, dirt, old sealants, and other contaminants should not remain on surfaces that need treatment or adhesion.
Keep the Cavity Accessible
The evaluated repair area should remain accessible for the preparation and repair steps specified by current product instructions.
Reinspect After Cleaning
Cleaning may reveal additional deterioration. Reassess the repair approach if damage extends beyond the evaluated area before removing more material.
STEP 4
Use Applicable Preparation Materials
Wood Consolidant is used on prepared deteriorated wood where applicable as part of preparation. WRP Dough A & B rebuilds localized missing wood where repair suitability has been established. WRP Topping is an optional finishing material for minor surface refinement where needed.
Apply the Appropriate Wood Treatment
Use the correct treatment for the project and allow it to perform according to the product instructions before continuing. For prepared repair cavities, review how to use CuB Liquid. For larger exposed wood surfaces, see how Board Defense is used.
Use Wood Consolidant Where Applicable
Wood Consolidant is used on prepared deteriorated wood where applicable. It does not replace missing wood or establish structural condition. Read Wood Consolidant Explained before choosing the next step.
Resolve Support and Hidden-Condition Concerns
Damage involving framing, supports, connections, or concealed deterioration requires an appropriate repair-suitability decision. Cobra Rods are wood preservative rods, not structural reinforcement.
Review the complete sequence on How WRP Works before beginning the restoration.
FINAL PREPARATION CHECK
How to Know You Have Prepared Wood for Repair
Before rebuilding begins, confirm that you have prepared the wood for repair by making sure the cavity is dry, clean, stable, and fully prepared. A quick final check can prevent preparation problems from being sealed beneath the repair.
The Moisture Source Is Corrected
No active leak, standing water, failed drainage, or repeated wetting should continue affecting the area.
The Remaining Wood Is Firm
Whether remaining wood is suitable to stay must be established before treatment. A light-pressure check does not establish concealed condition or load-bearing suitability.
Loose Material Is Gone
No crumbling wood, detached fibers, dirt, or debris should remain.
The Cavity Is Accessible
Applicable preparation and repair materials must be able to reach the evaluated repair area as required by current instructions.
Connections Are Stable
Uncertain fasteners, brackets, joints, or surrounding framing need qualified evaluation before removal or rebuilding.
Product Instructions Are Reviewed
Confirm mixing, application, curing, and environmental requirements before opening repair materials.
READY TO RESTORE
Move From Preparation to Rebuilding
After repair suitability is established and the applicable preparation requirements are met, localized missing wood may be rebuilt with Dough and finished according to current instructions.
Complete Applicable Preparation Steps
Complete any applicable Wood Consolidant step according to current instructions before rebuilding suitable localized missing areas with Dough.
Rebuild the Missing Area
Use WRP Dough A & B to rebuild localized missing wood where repair suitability has been established. Compare the available WRP wood repair kits for different project sizes.
Shape, Prime, and Finish
Shape and finish according to current product instructions. Use Topping where minor surface refinement is needed, then complete appropriate primer and paint steps according to product and coating instructions.
AVOID PREPARATION FAILURES
Common Wood Repair Preparation Mistakes
Even high-quality repair materials can underperform when they are applied over wet, contaminated, loose, or poorly prepared wood. Check the repair area carefully before moving to consolidation and rebuilding.
Leaving Loose Material Behind
Soft, crumbling, detached, or unstable fibers cannot provide a dependable foundation for consolidant or epoxy repair materials.
Trapping Active Moisture
Leaks, failed joints, standing water, and damp wood should be addressed before the repair cavity is sealed or rebuilt.
Skipping the Final Cleanout
Remove unsuitable residue and prepare the repair area using methods appropriate to the evaluated repair and current product instructions. Follow the current product label and Technical Documents for preparation, application, curing, cleanup, and safety requirements.
Review the complete WRP repair process before applying restoration materials, or return to the WRP Learning Center for related guidance.
COMMON QUESTIONS
Frequently Asked Questions About Preparing Wood for Repair
These answers cover the basic preparation process. Always follow the instructions for the specific WRP products used on your project.
Does the wood need to be completely dry?
The source of active moisture should be corrected, and the wood should be dry enough for the selected treatment and repair system. Do not seal active moisture inside the repair.
Should all old paint be removed?
Remove loose, peeling, and failed coatings around the repair area. Stable paint outside the prepared area may remain if it does not interfere with the repair or refinishing.
Can I apply epoxy over soft wood?
Loose, crumbling, or detached wood should be removed. Some weakened but still attached fibers may be suitable for treatment and consolidation before rebuilding. Read Wood Consolidant Explained for the role of consolidation in the repair sequence.
Why is cleaning the cavity important?
Dust, debris, loose fibers, and contamination can prevent proper treatment, penetration, and bonding.
When is reinforcement needed?
Conditions involving framing, supports, connections, or significant concealed deterioration need qualified evaluation. Cobra Rods do not provide structural reinforcement or establish repair suitability.
Can I prepare the wood and finish the repair later?
Yes, but keep the area clean and protected from moisture, contamination, and new damage until treatment and rebuilding begin.
Which WRP products are used after preparation?
Product selection depends on the repair. Review How WRP Works, browse WRP products, or contact WRP for project guidance.
CONTINUE LEARNING
Continue With the Complete Wood Restoration Process
Proper preparation is the foundation. Continue with the complete repair process, review the related planning guides, learn about wood consolidant, or select the WRP products for your project.
Can Rotten Wood Be Repaired?
Learn which conditions may make damaged wood a possible candidate for localized repair instead of replacement.
Repair or Replace Rotten Wood?
Compare restoration and replacement based on damage, access, cost, stability, and project scope.
How Much Rotten Wood Should Be Removed?
Learn how to identify unsound wood and preserve firm material that can remain in the repair.
Ready to Plan a Localized Wood Repair?
Once the moisture source is addressed and the area is confirmed suitable for localized repair, compare kit options or use the Repair Wizard to plan the materials needed.