
WRP SYSTEM & PRODUCT GUIDES
How to Clean Weathered Wood Before Repair
Learn how to clean weathered wood before repair, why surface preparation matters, how WRP Bio Cleaner fits into the restoration process, and how to prepare exterior wood for stronger, more reliable repairs.
WHY CLEANING COMES FIRST
Why You Should Clean Weathered Wood Before Repair
Cleaning weathered wood before repair makes it easier to see the true condition of the surface and helps remove dirt, chalking, biological residue, and other contaminants that can interfere with the next restoration steps.
Reveal the True Surface
Grime and weathering can hide cracks, soft areas, loose fibers, and failed coatings. Cleaning makes the wood easier to evaluate accurately.
Improve Repair Preparation
Clean wood provides a better starting point for removing deterioration, applying treatment products, and rebuilding missing sections.
Reduce Contamination
Surface contamination can interfere with adhesion and finishing. A thorough cleaning step helps reduce avoidable repair problems.
Support the Full System
Cleaning is not the repair itself. It is the first preparation step before inspection, moisture correction, treatment, rebuilding, and finishing.
Cleaning Does Not Replace Removing Rotten Wood
WRP Bio Cleaner helps prepare the surface, but it does not restore strength or remove deep deterioration. After cleaning, probe the wood and remove all loose, soft, brittle, crumbling, or detached material before continuing. See How Much Rotten Wood Should Be Removed? for the next step.
PRODUCT OVERVIEW
What Is WRP Bio Cleaner?
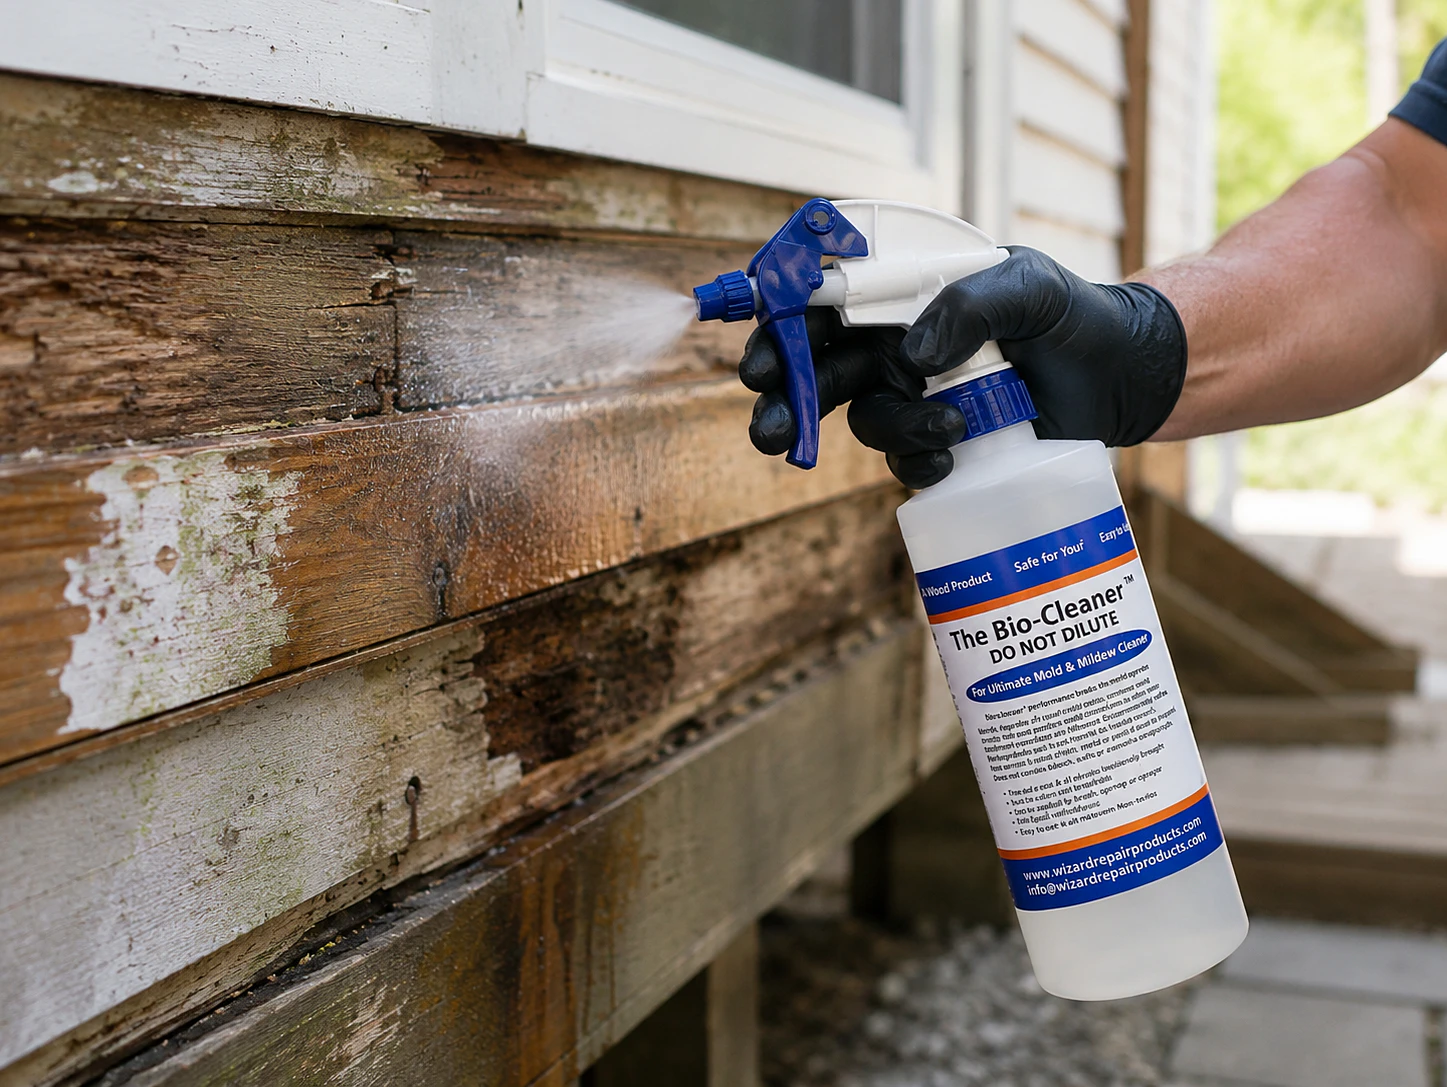
WRP Bio Cleaner is a water-based cleaning compound used to prepare weathered exterior wood before repair and restoration. It is intended to help remove surface contamination so the wood can be inspected and prepared more effectively.
Water-Based Formula
The product is identified in its safety data as a water-type cleaning compound with complete water solubility.
Designed for Surface Preparation
Bio Cleaner is used before restoration work to help clean exposed wood and remove residues that may interfere with the repair process.
Part of the WRP Workflow
Use it before wood treatment, consolidation, epoxy rebuilding, topping, priming, and painting when the project requires cleaning.
Use the Current Product Label and Instructions
Always follow the current WRP Bio Cleaner label, technical directions, and safety information for mixing ratios, application, dwell time, rinsing, protective equipment, and surface compatibility. Product directions take priority over general guidance.
STEP-BY-STEP PROCESS
How to Clean Weathered Wood Before Repair
The correct method depends on the surface, exposure, and product directions, but the preparation sequence should remain controlled and deliberate.
Inspect the Area
Identify failed coatings, visible decay, water entry points, open joints, and areas where dirt or biological growth has accumulated.
Remove Loose Material
Brush or scrape away loose paint, dirt, debris, and visibly detached wood fibers before applying the cleaner.
Protect the Work Area
Use rubber gloves and eye protection, protect adjacent materials, and work in a well-ventilated area as directed by the safety data.
Mix as Directed
Prepare WRP Bio Cleaner according to the current label. Do not invent or substitute a dilution ratio that differs from the product instructions.
Apply Evenly
Apply the solution to the weathered wood using the recommended method, keeping the application controlled and avoiding unnecessary overspray.
Allow the Required Contact Time
Let the product work for the period specified on the current label without allowing conditions to conflict with those instructions.
Agitate and Rinse
Scrub where needed and rinse thoroughly so loosened contamination and cleaner residue are removed from the surface.
Dry and Reinspect
Allow the wood to dry to the condition required by the next WRP product, then inspect and probe the exposed wood again.
SAFE HANDLING
WRP Bio Cleaner Safety and Handling
The safety data describes Bio Cleaner as generally regarded as safe when used as specified, but it may irritate the eyes or skin. Use appropriate protective equipment and follow the current SDS and product label.
Personal Protection
- Wear rubber protective gloves.
- Use safety glasses and splash protection.
- Avoid skin and eye contact.
- Use adequate ventilation.
- Use respiratory protection where required for repeated exposure or confined areas.
Storage and Compatibility
- Store in a dry, well-ventilated location.
- Do not intentionally freeze.
- Allow frozen product to thaw completely before use.
- Avoid contact with strong alkalis and bleaching materials.
- Keep the container secured when not in use.
First-Aid Reminder
If the product enters the eyes, flush gently with water for at least 15 minutes and seek medical attention. For skin exposure, remove contaminated clothing and rinse thoroughly. Follow the SDS for swallowing, inhalation, and emergency guidance.
READY FOR THE NEXT STEP
How to Know When Cleaned Wood Is Ready for Repair
The surface should be clean, free of loose residue, properly rinsed, and dry enough for the next product. Cleaning may reveal additional deterioration that must be removed before restoration continues.
Surface Is Clean
No heavy dirt, cleaner residue, loose fibers, or detached coatings remain in the repair area.
Wood Has Been Probed
Soft, crumbling, and detached material has been identified so the repair boundary can be established.
Moisture Source Is Corrected
Leaks, failed sealant, poor flashing, drainage problems, and other recurring water sources have been addressed.
Wood Meets Product Conditions
The wood has reached the dryness and temperature conditions required by the next treatment or repair product.
Adjacent Areas Are Protected
Surrounding finishes, plants, hardware, masonry, and other materials have been checked and cleaned as needed.
Repair Plan Is Confirmed
You know whether the project needs treatment, consolidation, epoxy dough, topping compound, reinforcement, or replacement.
BEST PRACTICES
Common Mistakes When Cleaning Weathered Wood Before Repair
Cleaning is straightforward, but poor preparation can create new problems or leave the wood unsuitable for the next repair step.
Skipping the Initial Inspection
Cleaning should not begin until you understand where coatings are failing, where moisture is entering, and whether the wood may be unsafe.
Using the Wrong Dilution
Follow the current product label. A stronger or weaker mix is not automatically better and may reduce performance or create compatibility issues.
Failing to Rinse Thoroughly
Cleaner residue and loosened contamination should not be left where treatment, epoxy, primer, or paint will be applied.
Repairing Damp Wood Too Soon
Allow sufficient drying and verify the next product's moisture requirements before applying treatments or repair materials.
Assuming Cleaning Removes Rot
Cleaning improves visibility and surface condition, but deteriorated wood still needs to be removed or otherwise handled according to the repair plan.
Ignoring PPE and Ventilation
Use rubber gloves, eye protection, and adequate ventilation even when a product is described as generally safe when used as specified.
FREQUENTLY ASKED QUESTIONS
WRP Bio Cleaner FAQs
These answers cover common questions about how to clean weathered wood before repair and where WRP Bio Cleaner belongs in the restoration process.
Why should weathered wood be cleaned before repair?
Cleaning removes surface contamination and makes it easier to evaluate the wood, remove deterioration, and prepare for treatment, epoxy repair, priming, and painting.
Does WRP Bio Cleaner repair rotten wood?
No. Bio Cleaner prepares and cleans the surface. It does not rebuild missing wood, reinforce a member, or replace removal of deteriorated material.
Do I need to let the wood dry after cleaning?
Yes. The wood should dry to the condition required by the next WRP product. Follow the current instructions for the cleaner and the next treatment or repair material.
Should I wear gloves and eye protection?
Yes. The SDS recommends rubber gloves, safety glasses, splash protection, and adequate ventilation. Avoid skin and eye contact.
Can WRP Bio Cleaner be allowed to freeze?
Do not intentionally freeze the product. If temporary freezing occurs during storage, allow it to thaw completely and return to a full liquid state before use.
Can I use bleach with WRP Bio Cleaner?
The SDS lists bleaching materials as incompatible. Do not mix Bio Cleaner with bleach or other products unless the current manufacturer instructions expressly allow it.
Can I pressure wash instead of using a cleaner?
Pressure washing alone may not provide the same controlled cleaning and can damage soft or deteriorated wood when used aggressively. Use the method recommended for the project and product.
What comes after cleaning?
Reinspect the wood, correct moisture sources, remove unsound material, and continue with the appropriate WRP treatment and repair products.
START WITH A CLEAN SURFACE
Prepare Weathered Wood for a Better Repair
A durable restoration begins with inspection, moisture correction, and proper preparation. WRP Bio Cleaner helps clean weathered exterior wood so you can clearly evaluate the damage and continue with the appropriate repair products.