See the WRP Repair Process
How the WRP Wood Repair System Works.
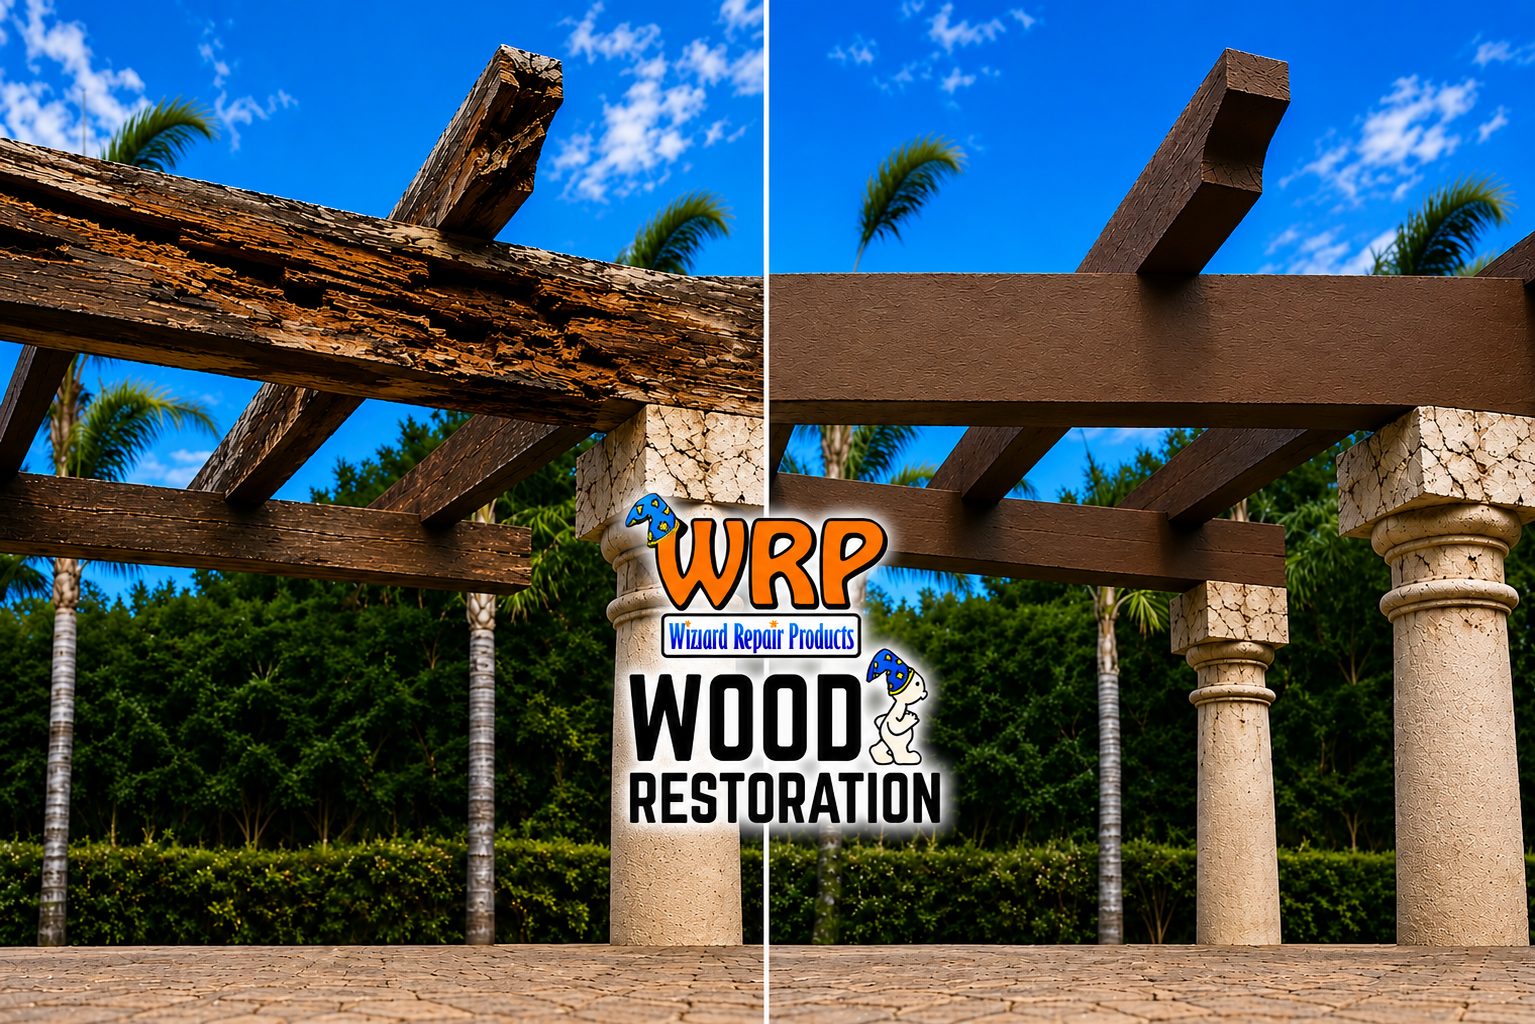
Follow our proven three-step wood repair process to permanently restore rotted, weathered, and insect-damaged wood without replacing it. See exactly which WRP products are used at every stage of the repair.
Prepare the Wood
Clean, protect, treat, and reinforce damaged wood so the repair has a solid foundation before rebuilding.
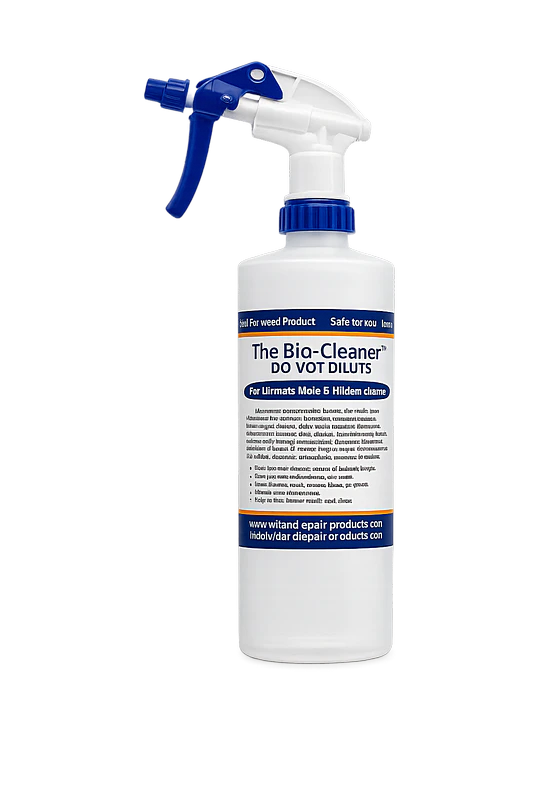 Clean
Clean
Bio-Cleaner
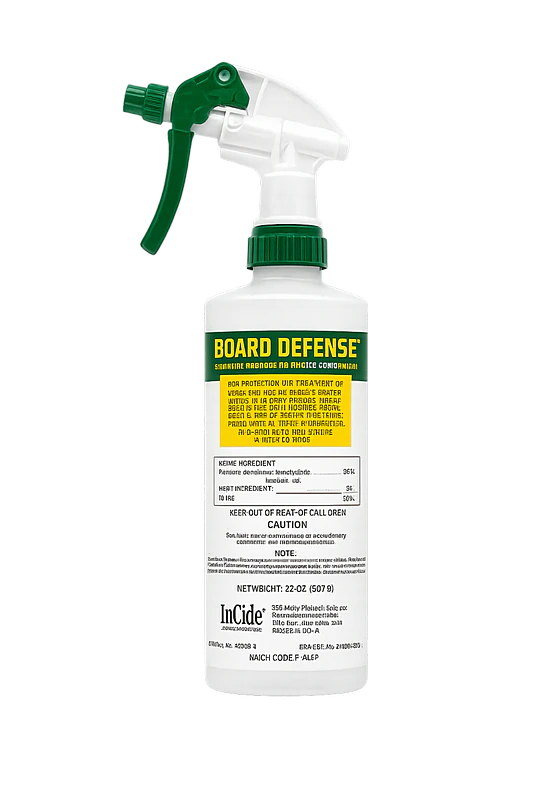 Protect
Board Defense
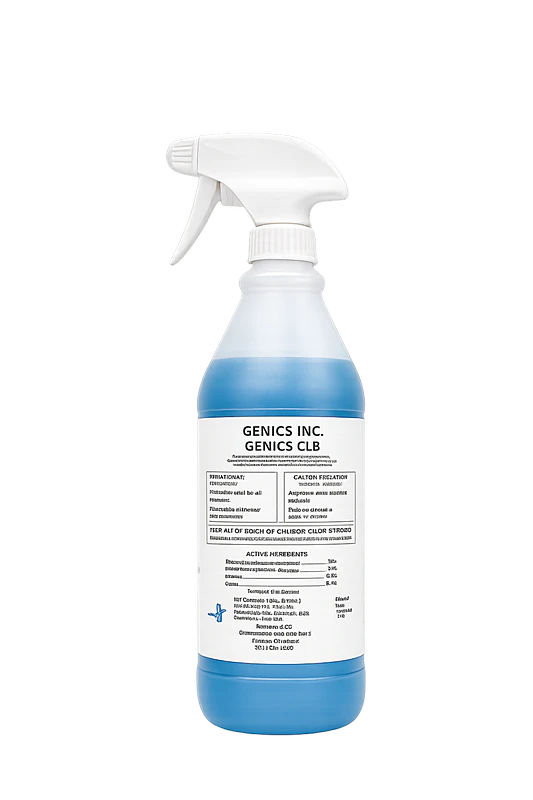 Treat
Treat
CuB Genics
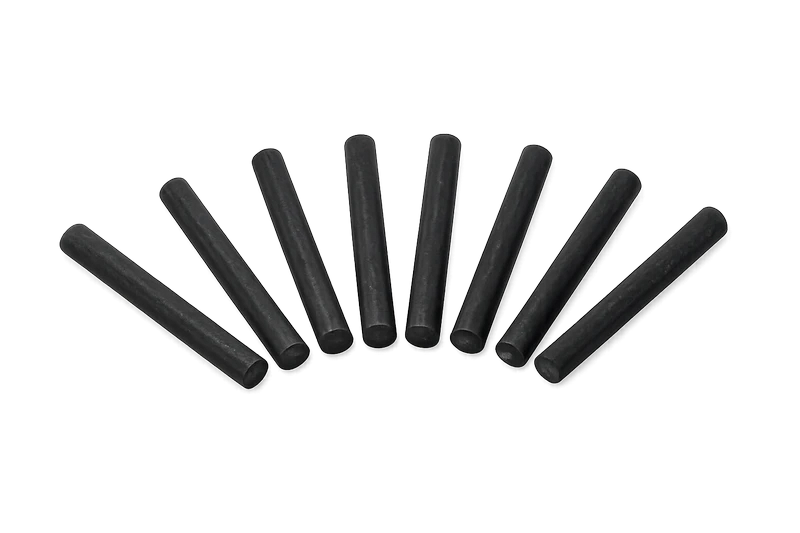 Reinforce
Cobra Rods
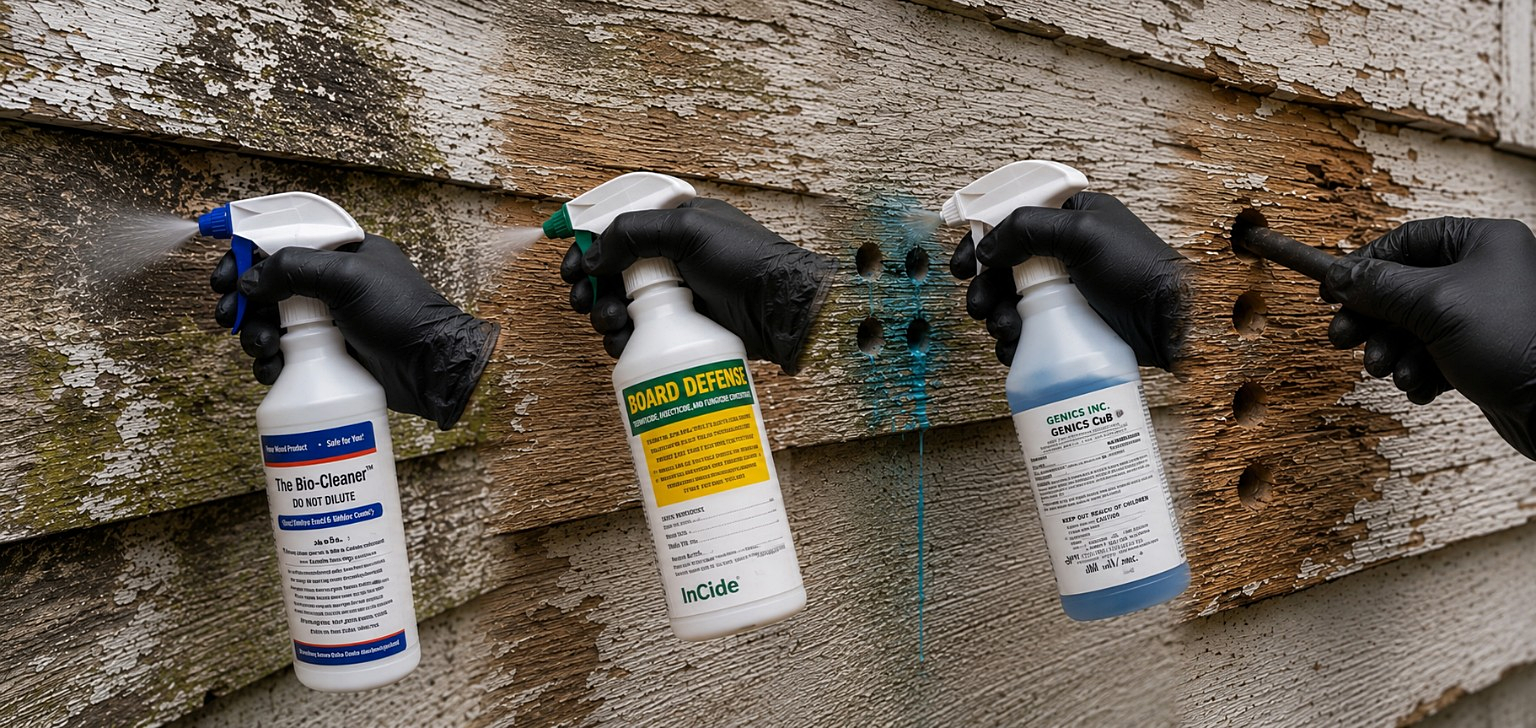
Every successful repair starts with proper preparation.
Step 1 helps clean the surface, protect the wood, treat the damaged area, and reinforce the repair before epoxy rebuilding begins.
Permanently Restore
Strengthen deteriorated wood with WRP Consolidant, rebuild the missing area with WRP Epoxy Dough, and shape the repair before finishing.
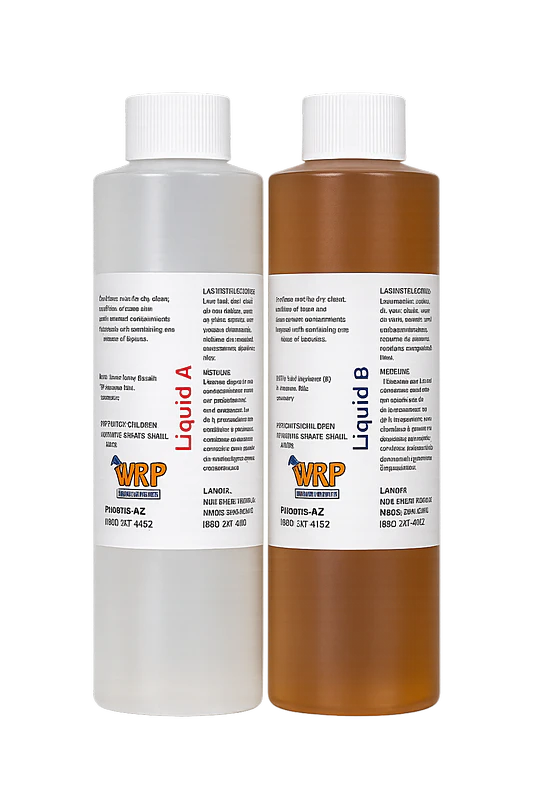 Strengthen
Consolidant
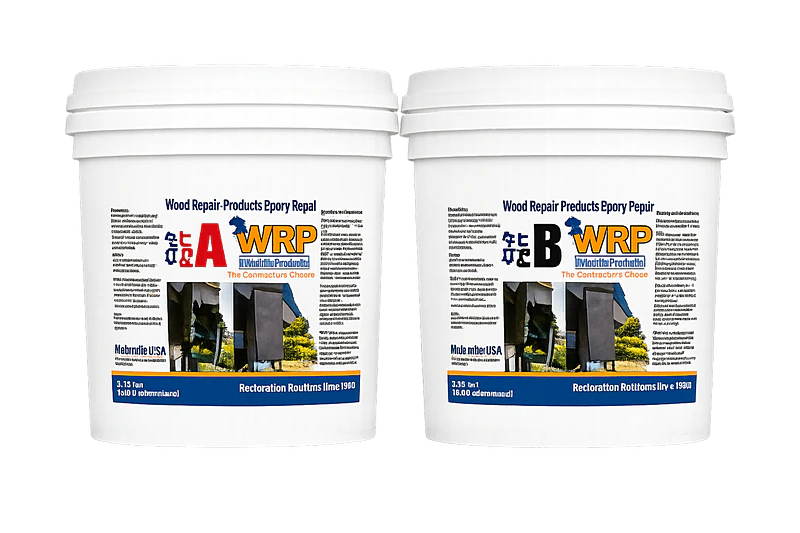 Rebuild
Epoxy Dough
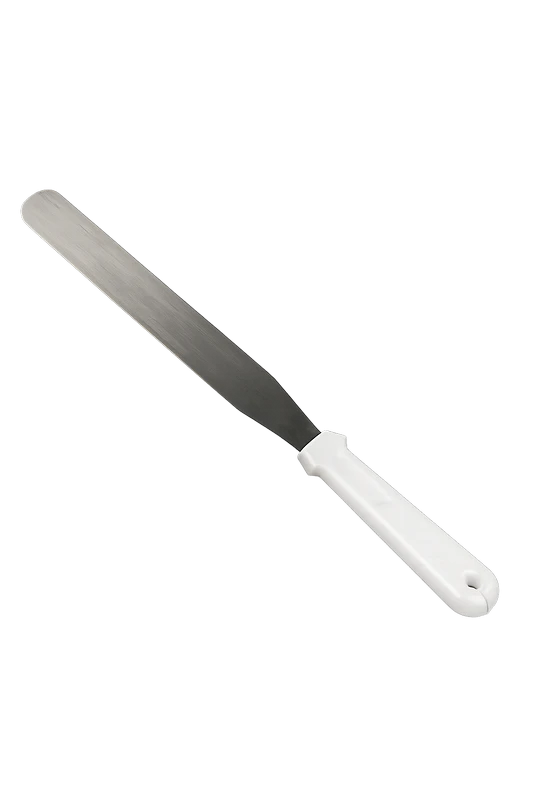 Shape
Shape
Putty Knife
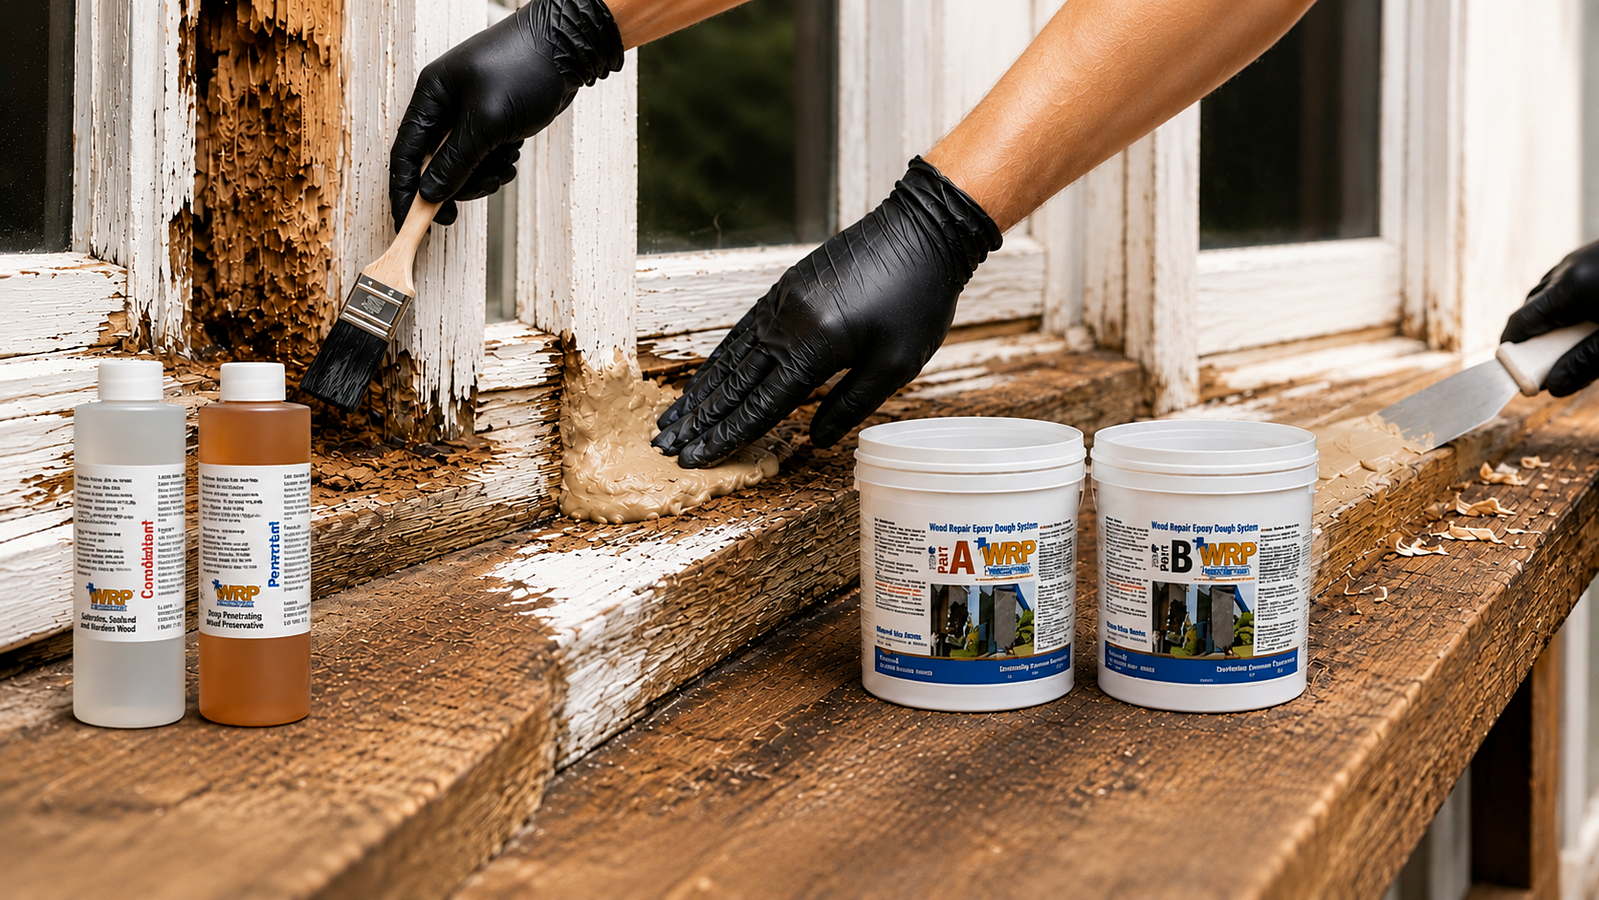
Rebuild damaged wood without replacing it.
Step 2 uses WRP Consolidant and Epoxy Dough to stabilize deteriorated wood, fill missing areas, and shape the repair back to the original profile.
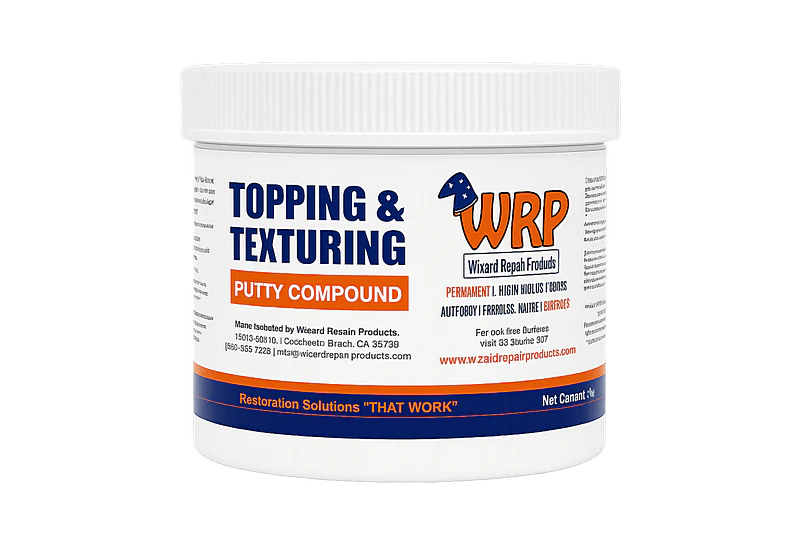
Coat & Finish
Apply WRP Topping, match the original wood texture, and prepare the repair for primer and paint.
 Coat
Coat
Topping
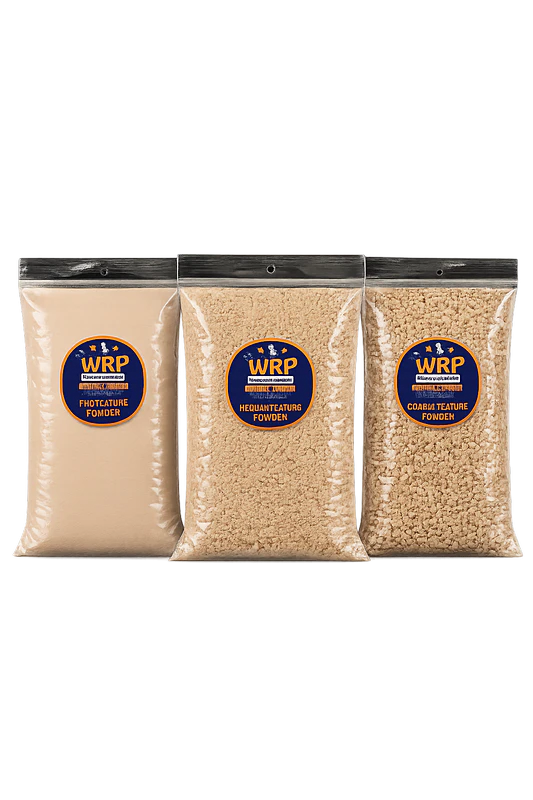 Texture
Texture Powders
 Spread
Spreader
 Grain
Grain
Graining Tool

Finish the repair so it blends with the original wood.
Step 3 uses WRP Topping, Texture Powders, the yellow spreader, and the graining tool to recreate the surface texture before primer and paint.